
So yea.
Step 1. Find a cheap, slightly large, Buzz Light year pj outfit.
We found ours at a consignment sale. It is a 4T, and our little guy is 24 months, but it still worked out.
Step 2. Brighten it up.
I used a regular BLACK fabric marker to darken the lines and the black areas to make it look new. It worked!


Step 3. Using the thickest Pellon fusible fabric backing you can find, create a pocket. Following the basic shape of the green area, make a vest shape. Fold the pellon in half so you have two attached mirror vests that you can fold up to make a pocket. I cut the side facing the body so it would be easier to get into... but I don't suggest this. It made his costume pooch. I do suggest ironing on a soft fabric on the outside iron on surface. (If you make it you know what I'm talking about.)

Step 4. Turn it over to you engineer for a few weeks so he can figure out the light thing he wants to do, and actually have time to do it. My engineer decided to have FLASHING red and green LEDs. This was more complicated of course, and required several trips to RadioShack and another to Frys. But it is so cool, it was worth it! Since Brian wanted the LEDs to blink it required a circuit board which in turn required some sort of protective plastic enclosure. If the lights were just to stay on you do not need a circuit board.(WHICH IS SO MUCH SIMPLER AND LESS BULKY)


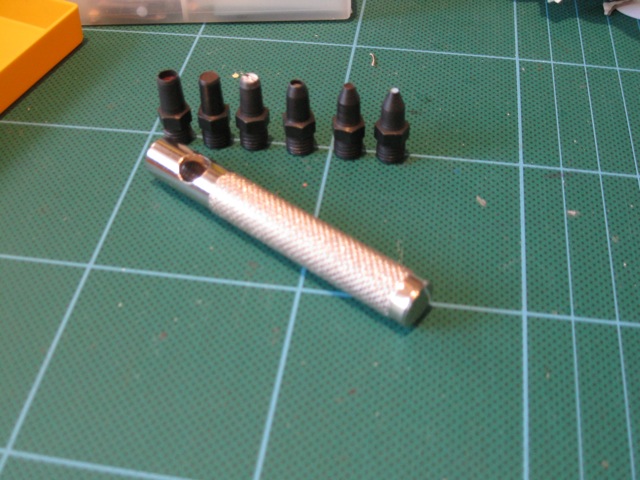
Step 5. Plan where LED will go and punch little holes through the outside facing part of the pocket. I found it best to punch from the front to the back. I used the smallest size hole punch for our small LEDs.


Step 6. Tape ALL the wires down (we used fabric tape it worked REALLY well). Ours has a black enclosure box to hold the circuit board, and a wire for the battery.


Inside out:

Right side out!

Ready for the big reveal!!
Brad wore his cost ume the whole night! He even wore the wings for most of the night too! (Attached with velcro and made with that craft foam stuff glued together. We can discuss the horrors of gluing that stuff together another day.)


You guys are dedicated, and CRAZY! But really I'm just jealous I don't have one for myself. It turned out super cute! Good job!
ReplyDeleteSuper cute!!
ReplyDelete