Thursday, October 13, 2011

How to Trick out Your BUZZ Light year Costume

We can't do things normally in my house. I'm very sorry. With an artist and an engineer everything is a problem to solve an every problem must not have a mundane answer. SO. Brian suggested Toy Story for our costumes this year. I suggested we be Woody and Jessie. Brian suggest Brad be Buzz. Then Brian suggested we add LEDs to Brad's costume... THEN he suggested that the LEDs blink.
So yea.

Step 1. Find a cheap, slightly large, Buzz Light year pj outfit.
We found ours at a consignment sale. It is a 4T, and our little guy is 24 months, but it still worked out.

Step 2. Brighten it up.
I used a regular BLACK fabric marker to darken the lines and the black areas to make it look new. It worked!


Step 3. Using the thickest Pellon fusible fabric backing you can find, create a pocket. Following the basic shape of the green area, make a vest shape. Fold the pellon in half so you have two attached mirror vests that you can fold up to make a pocket. I cut the side facing the body so it would be easier to get into... but I don't suggest this. It made his costume pooch. I do suggest ironing on a soft fabric on the outside iron on surface. (If you make it you know what I'm talking about.)


Step 4. Turn it over to you engineer for a few weeks so he can figure out the light thing he wants to do, and actually have time to do it. My engineer decided to have FLASHING red and green LEDs. This was more complicated of course, and required several trips to RadioShack and another to Frys. But it is so cool, it was worth it! Since Brian wanted the LEDs to blink it required a circuit board which in turn required some sort of protective plastic enclosure. If the lights were just to stay on you do not need a circuit board.(WHICH IS SO MUCH SIMPLER AND LESS BULKY)

Step 5. Plan where LED will go and punch little holes through the outside facing part of the pocket. I found it best to punch from the front to the back. I used the smallest size hole punch for our small LEDs.

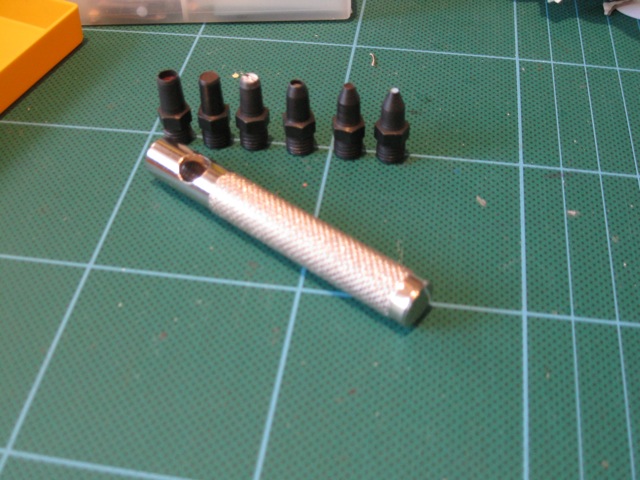
Step 6. Tape ALL the wires down (we used fabric tape it worked REALLY well). Ours has a black enclosure box to hold the circuit board, and a wire for the battery.
 Inside out:

 Right side out!

Ready for the big reveal!!

Brad wore his cost ume the whole night! He even wore the wings for most of the night too! (Attached with velcro and made with that craft foam stuff glued together. We can discuss the horrors of gluing that stuff together another day.)


You can see some of his little LEDs glowing in this pic! Yea we put LEDs in the wings too. So cute!

Wednesday, October 12, 2011

How to make a Woody Costume

Woody is actually not too hard of a costume- especially for a guy. Blue jeans, boots, a hat, a red scarf, a sheriff's badge- are all things you either already have or you can get a dollar type store. We actually are not cow people and didn't have boots and couldn't find them for cheap, but the costume turned out just fine anyway. Woody's yellow shirt and cow vest are another story...
Ya see, these two items and the hat, are what make up the Woody caricature. With out them you are just a cowboy, so it is important to make them look as proportionately close as possible.
Okay done lecturing.

I found my yellow shirt at a thrift store. It was actually a challenge to find a "yellow" collared shirt.

The stripes...
How do you think you would put stripes on a shirt??
Yes that is exactly how you do it.
Red fabric marker and a ruler.

Tip: Start with the back so you can get the hang of it on the side that will be covered up by the vest!
I slipped my fabric cutting board under the shirt and could see the grid lines through it! So I just used those as my guides rather than measuring each line!


Tip: For the sleeves, create parallel lines using the top of the sleeve as a guide for the horizontal lines. It doesn't matter where they begin or end really, just keep everything at 90 degree angles. The same goes for the vertical lines. Just as long as they are square to the horizontal lines. (the top of the sleeve in the photo is the part by the horizontal ruler. sorry it looks confusing)


What! It already looks like Woody! In the end I used 7 fabric markers and took 3 trips to Joannes.  You probably could use a sharpie, but they bleed a bit.

Wondering about the vest? We'll get there. Check back soon!

Friday, October 7, 2011

New Designs! - Breast Cancer Awareness Month

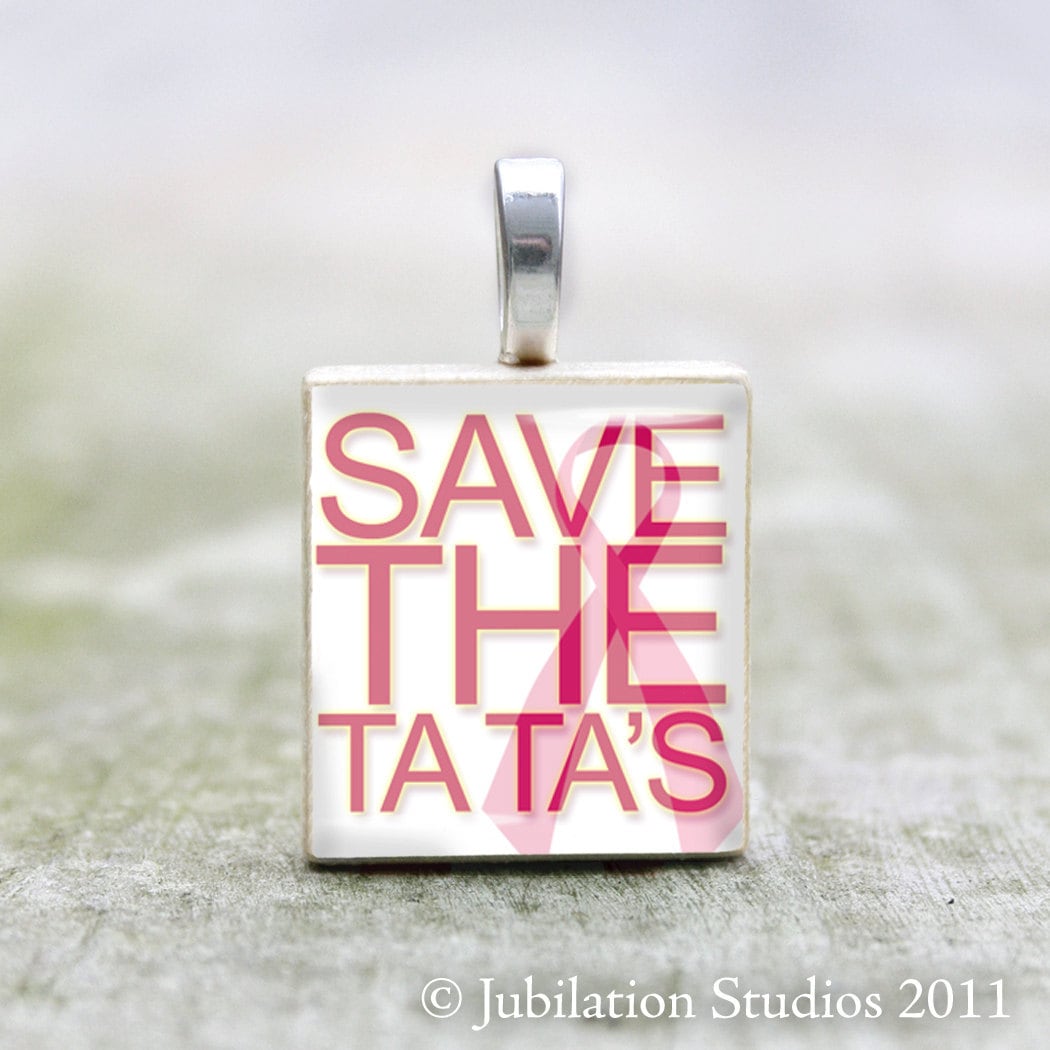
In support of October's Breast Cancer Awareness, we thought we could do our part and create a few new pendants.

I've only known one friend to fight this horrible cancer, and she came through victorious. (minus a ta ta but she is still here!) I'm so proud of her and her fight for life rather than just giving up. I'll wear one of these for her this month in honor of her victory! You can do the same for your loved one!

More designs at our Etsy Shop !!

Monday, September 12, 2011

Cutest Idea Ever: Child's Play Kitchen


I saw a friend post a link on facebook and I fell in love.
Look at what this lady made for her daughter to play with!

Is this not the cutest play set you have ever seen? It is so detailed and personalized. I LOVE IT!

This cute play kitchen was made by a diy-er mom with an old entertainment system. 


I love all of the little details with the tile and kitchen accessories.


Really so very very cute! I feel that I need a daughter now, and ASAP! =)

Go here to her blog and to see how she made this!

This same facebook friend is making her daughter one of these, I can't wait to see it!

Thursday, September 1, 2011

New Halloween Treats!

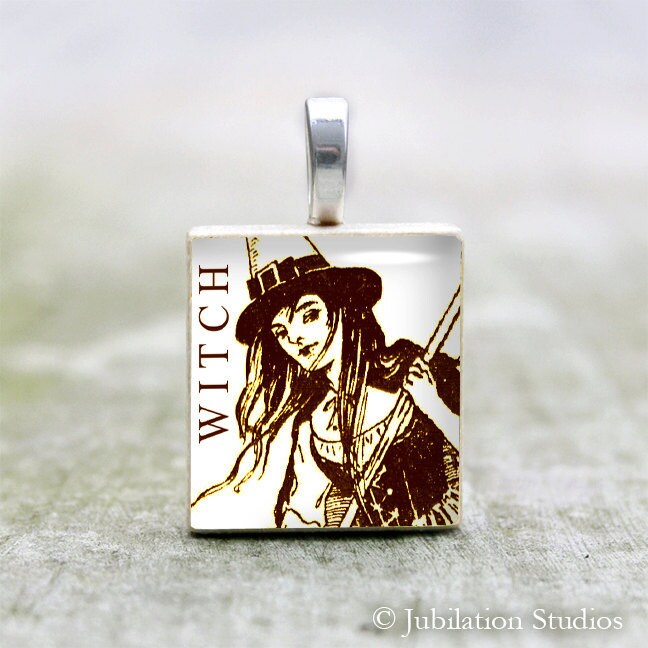
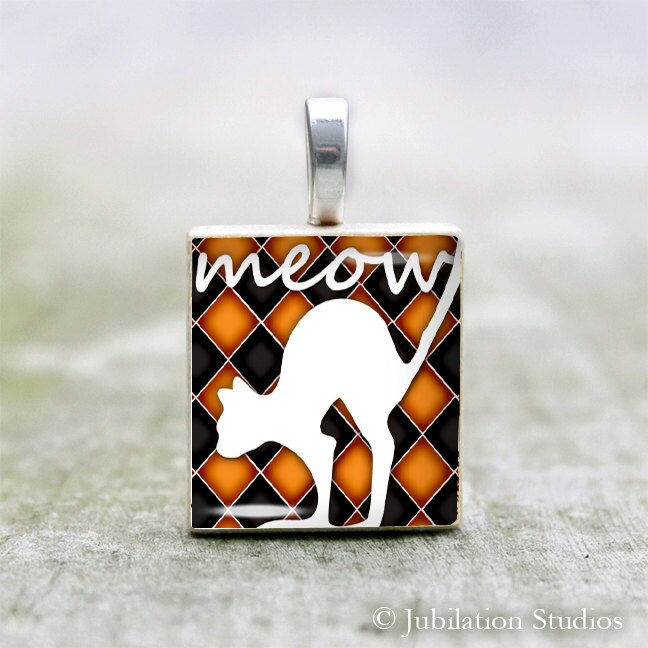
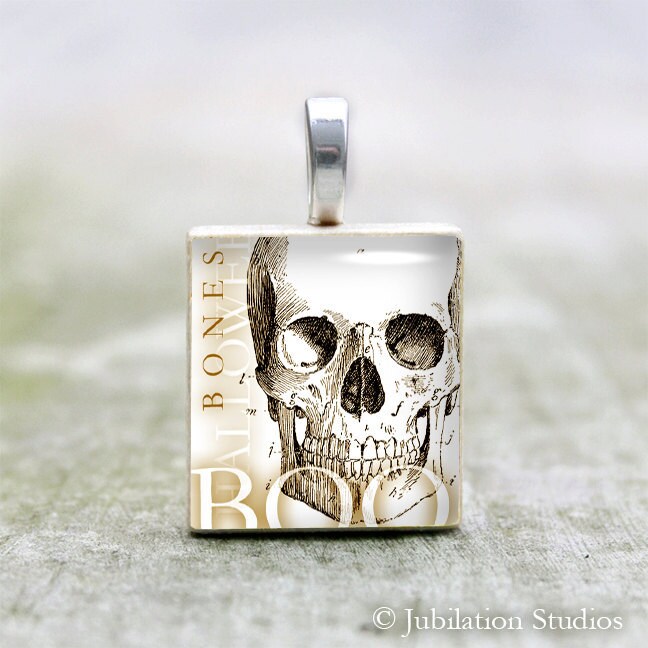
I just posted some new halloween designs!! They are buy 2 get 1 free!!
Thanks for all the inspiration!!


Enjoy!