Saturday, June 25, 2011

Week ONE of Giveaways!!

We have twenty some new designs ready to go! So to celebrate we are going to be doing one giveaway a week for the next three weeks! That's right! You could potentially be the proud new owner of one of these neat beauties!


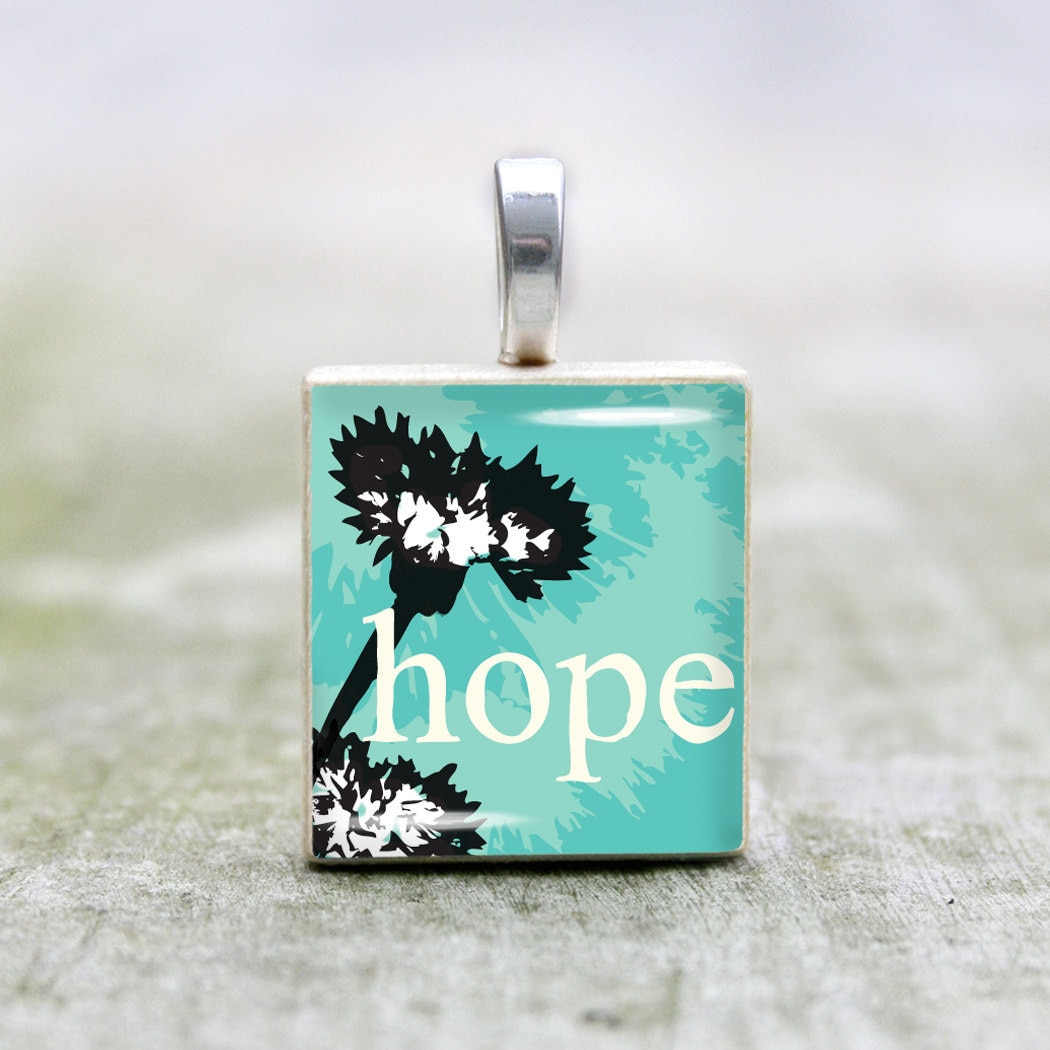
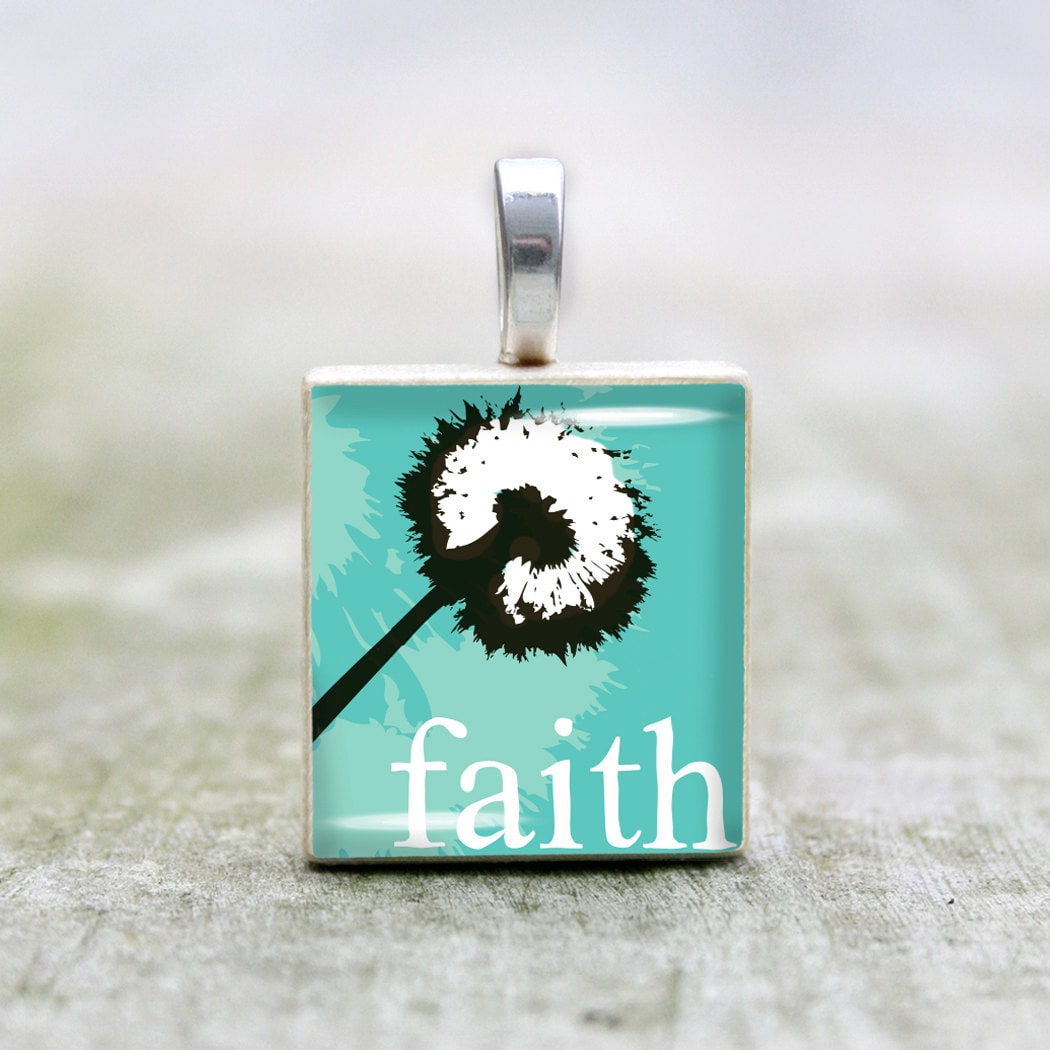
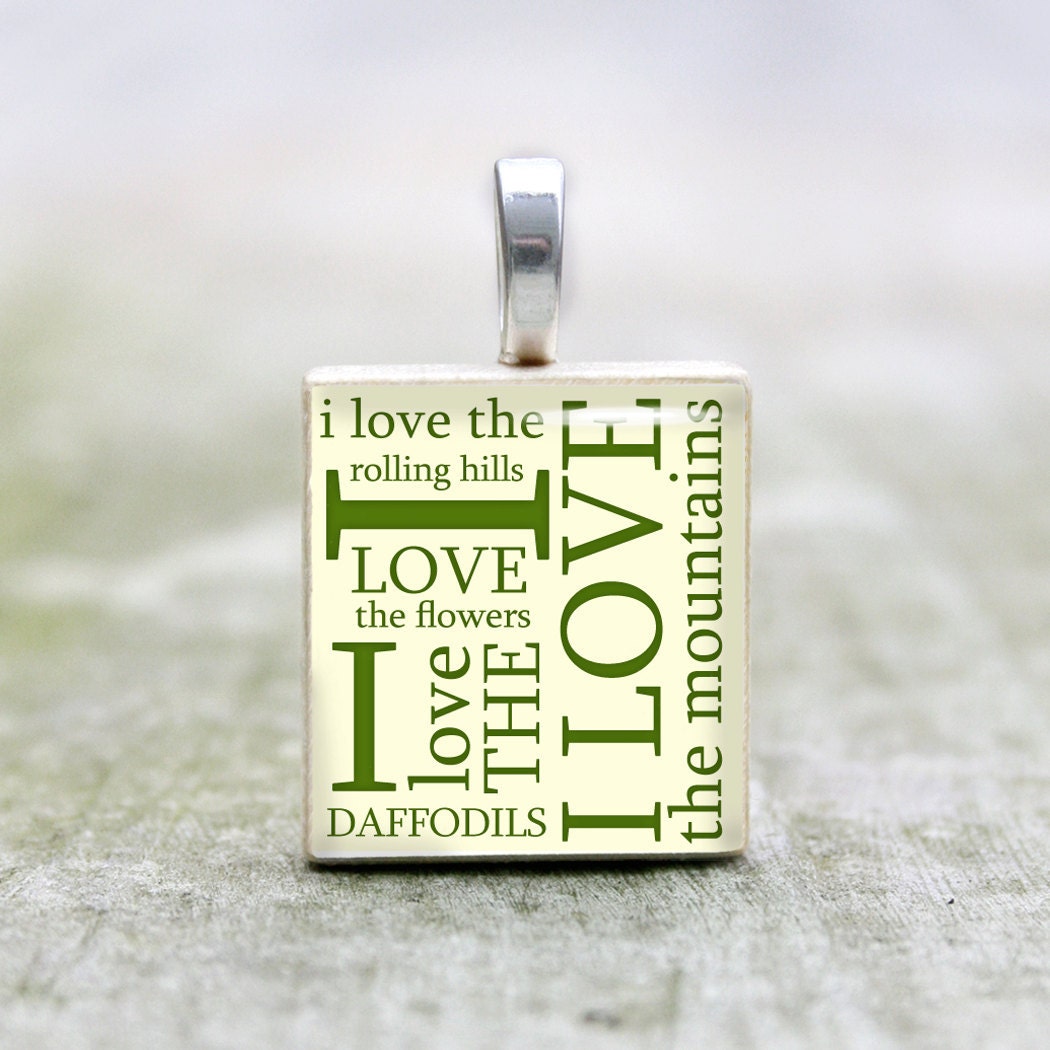
Aren't they so cool?

Here's what you need to do to enter. Since facebook seems to be the popular way to get the word out these days, we are going to take full advantage. We have a facebook page here. Please "like" our page and become a follower so that we can give you updates as to giveaway winners, the coming weeks giveaways, and any other future products we might have. Then copy the URL (web address) from THIS page you are currently reading, at the very top of your screen and paste it under a "link" on your own facebook page to let your friends know so they can also enter. Then so we know that you've done these few easy steps, leave a quick comment on here letting us know that you did it! Simple right? Easy? Piece of cake? All for an awesomely trendy pendant you can wear for FREE?! YES.

Here is what you need to do one more time:

1."Like" or follow our facebook page here! 
2. Copy this "Week ONE of Giveaways!!" web URL at the top and paste it on your own facebook to let others know. Or to make it easier, just copy and past THIS ----------> http://jubilationstudios.blogspot.com/2011/06/week-one-of-giveaways.html
3. Leave a comment on THIS blog to let us know you've followed the steps!

Make sure you enter by FRIDAY July 1st 11:59PM since we will be picking the winner on Saturday and starting the next week's giveaway.

Then sit back with bated breath to see who wins one of the puppies up above! If you happen to be the lucky winner for this week, we will ask you which is your favorite pendant of this week, and we'll send it to you in the mail. Who doesn't love giveaways!? 


Oh- and don't forget to enter each week for more chances to win! Stay tuned!

We are trying to get the word out about our new and exciting product, so give us a hand, spread the word, and win a sweet pendant for yourself in the process!

Tuesday, June 21, 2011

Tuesday Treats - Prints Under $30

Let's start a new thing.
I love making collections of pretty things, it is like living vicariously through your computer. I can collect and collect all the pretty combos of things I find on the computer with out spending a dime. I thought it would be fun to share my little collections. They aren't always "esty-ish" but this one is... because etsy makes it easy to make collections (called treasuries, w/e- I've been doing this since way before I found etsy!)

To check out the individual items click here!!!

Anyways. I'm trying to come up with some fun art pieces for my house. I buy all these frames and need to fill them! Lets be honest, I'm a graphic designer... not a photographer, not a painter.  So even though I have had a class or two, I don't have the kind of talent that can come up with a work of art in a reasonable amount of time. I could do it if I had the focus and time.. but I'm a mom. So I focus on my babe and spend time doing everything else.

Each of these prints is under $30. Some of them are sets of three, four or even twelve! Some are giclee print, some are photos. I just love them all!!

Friday, June 17, 2011

Makin Walls Pretty

For those who are ravenously interested in the how, I'd love to go through my process for you!
For those who just want to see what it looks like in the end, just scroll down!

I have many walls that could use some art. (I don't believe in bare walls.)  But these are the best candidates for the frames and pis I've gathered.

Kitchen

Entryway

First I have to figure out where the frame pairs go. One set of frames is fairly ornate with lots of curves and stands out from the wall two or so inches, the other is simple and smooth and is fairly flat.
I like seeing the curves of any frame I so painstakingly painted. So the kitchen spot is a no go for the curvy frame - too high, it will stick out too far and look horsey instead of sleek. Answer... the flat smooth frames! And the cute curvy frames can go by the door so I can see them alll the time.

Now what to put in those frames? Okay okay, the flat smooth ones already had kitcheny art in them, soo maybe I got the idea to put them in the kitchen and put cute kitchen imagery in there. But I still went through the other process for good measure.
 
I went to my fave vintage image site, The Graphics Fairy,  and found these:

While I don't love the colors, I do love the imagery and typography. I have high expectations for kitchen art. It can't be about alcohol or coffee - which takes most kitchen art out. And it needs to be modern art or vintage art, or art deco. I think these are a good vintage/deco combo- even if the colors don't match my kitchen.

That is where photoshop comes in! wala!

The next set of frames was much harder to find images for. I searched on Etsy for good prints (which I found, check back on Tuesday to see all the fun art prints I found)  but they have to be shipped. And I am impatient.

So I looked in our family photo archives and found these. I like displaying art that means something, so I picked pics from our trip to Paris. I was studying photography at the time, so they are even a bit artistic.
But again... they didn't really match. So through the wonder of photoshop I toned things down and and then toned everything with brown to make it look cohesive.

I printed some copies off at Staples on card stock weight paper for around $2. Wala! Art!
Well, let's not get too far ahead, before you print you have to decide the size of the pictures. I cheated. I fit two prints on a normal 8.5 x 11 page and called it good. ha.

I glued the pics on piece of card stock/chipboard/ cut up cereal box so they would stand off the white background. Looks professional without buying a mat.


For the scrollers.... start here:

Finished frames:


Now all I had to do was find some hammer and little nails!
again, wala!


Thursday, June 16, 2011

Spoons...

Last week Brian went out of town, and I went thrifting! I had two simple goals, paint the frames and make garden marker spoons.

I had the frames painted in a few hours no prob:

I put the baby to bed, laid a tarp down, watched a little Bones, didn't ruin any clothes, two layers, good times. Now I need to figure out where to put the frames and what goes inside.

Then I started working on the spoons... See my cute inspiration picture!

Simple goal: flatten spoon and hammer in letters.
I told Heidi all about how excited I was. Then she asked the hard question... So how are you going to flatten the spoons? Like run over them with a car or steam roller? I said na, I'll use a hammer or mallet.

Within five minutes of hammering I had caught my left pointer finger somehow and given myself two welting blood blisters that were throbbing. Soo I tried the car route.


Note to self, this doesn't really work. It makes them flatter than they were previously, but not flat.
So, back to the hammer. I tried all sorts of things. Hammering on a pad, on wood, on brick, covering the spoon with a dish towel. My best results were on my carpeted concrete garage floor, with a dish towel covering the spoon, and using two hands to wack the crap out of it as many times as I could till it bounced away or till I made a new hole in the dish towel.  This resulted in mostly flat spoons, but still not that flat!


Did you see my poor finger! Sadly the spoons really aren't that flat, but after an hour of hammering I had no more energy at 1 am. Yes there was also a fifth big spoon, but I broke the spoon part off long before I even put a dent in that thing. I think it was for the best. If you try this, find old 80's spoons that are thin and light. Not modern spoons that are really thick.

Skip ahead through a night of snuggling with the puppy a crazy morning, and finally nap time!
I thought okay, THIS must be the easy part. I gathered my hammer, steel letter set, and spoons and marched down to my garage. After a failed attempt at the word "Basil" I decided to try another location. I went outside on the hot concrete and tried hammering there. I was met with slightly more success, but not much. This is as far as I got with one nap.


After you stamp in your letters, you can use a sharpie to color them black, and then use steel wool to erase the extra black. Parsley was my best spoon. Really, I would give more tips or something, but really, can you see the crappy "R" I am in no position to give tips. Here's my tip BUY THE DARN THINGS!

After lunch I was able to quickly finish the last spoon and stick my pathetic markers in my little garden.


 Bradley appreciates them. I'm not so fond of them, but they look cute enough.


Wednesday, June 15, 2011

Free Father's Day Cards!! Retro Style!

To all our dad's out there! Here are some free, printable cards for Father's Day!
I came across some retro Father's Day images and I couldn't keep them to myself! SO here are a few cards I came up with for father's day!!

Here are the designs in jpg form. 


Easy Card Printing Instructions:
1. Click on/ open links below.
2. Print.
3. Cut paper in half along the dotted line. Fold card in half. Now you have two super cute retro dad's day cards!!

Retro Cards PDF #1
Retro Cards PDF # 2

To make nice cards, choose a heavy weight paper. To make trendy cards, choose a cool paper color that matches your dad's level of groovy-ness! (Orange= most groovy, green = moderately groovy, light blue = umm we still love you dad.)

Thanks to The Graphics Fairy and Just Something Made for sharing their neat retro finds!

linking up to: http://justsomethingimade.com/2010/06/funky-father%E2%80%99s-day-clip-art/

Monday, June 13, 2011

The Hubby's away... time to play

Okay, here's my digs for the day at the thrift stores... $25 , four frames, two kids books, one dvd, and spoons.

Projects?? Keep Bradley entertianed, paint the frames, and flatten the spoons to make my own garden markers. Brian will be back tomorrow, so I only have one night. We'll see how much I can get done.
Posted by Picasa

Thursday, June 9, 2011

mmm free stuff

A new Panera Bread opened close to us a few months ago.
So I signed up for their Panera rewards card thing- might as well get a few rewards if I'm going to eat there.

Right off they gave us a free pastry item! Just for signing up! After the second purchase they gave us a free smoothie! And I JUST got another email that told me we get another free drink! I think we've gone there four times since we started the card thing and we've got all this free stuff!

Just makes your day a little brighter when you find a free smoothie in your email.

Tuesday, June 7, 2011

Watchout - Update

Well, I got the bedroom wall painted, the plants planted, and the decal for the wall mostly designed.. So pretty successful "hubby out of town" experience!

One could describe me as cheap. I think of myself as creative and resourceful.
So I took all the left over paint from painting that room and mixed it together! I came up with a beautiful deep gray blue.


Old paint job... Yea it is cute, I've just lived with it for the last three years and now I'm tired of it.
 

Obviously I had to prime first. I only had one quart of primer on hand, but somehow I made it spread over the whole wall! Yes I did sand the lines with sand paper first... however I should have used a sander, cuzzz it didn't completely get the lines out. Oh well.

 I taped all around the edges with the blue painter's tape, which works pretty well. Then I use a paintbrush to go along the edges and around the outlets. It makes it easier to use the roller. If you are a pro like Brian's mom, she skips the taping step and just paints all the edges by hand - according to Brian.


 I maaaay have given a few canvases a base coat because I like the color so much. I dunno yet what I'm going to do with them.


 Okay so it is not as chipper as the stripes... YET! I've got plans I tell ya. I'm working on a vinyl decal to go over our bed, plus if we ever have to sell the house this will sell better.
 Do you ever just look at your room, any room in your house really, squint your eyes at it and suddenly despise everything in there. Yea I do that to my bedroom all the time. I couldn't stand the stripes because the headboard cut them off in the wrong place, but I loved them at first. Now I can't stand those little ikea lamps on our bedside. Grr. This is why I can't buy expensive things, I'll just get board of them in a few years but then I can't justify changing things around.


Onto the gardening!! We can't have an average garden here in GA, the squirrels eat or bite every fruit or veggie that pops out of the ground. So this year we went for the herbs and flowers garden in pots garden.

Empty pots.

 Full pots! A shocking floral statement, I know. But I think it is cute!

 Okay so ya know what I reaaaaaally want to go with my garden?!!
Spoon garden markers. Wouldn't my little pots look so cute with little spoons sticking out! Alas, they are $7.50 each, and well.

I guess I am cheap.